Hi friends!
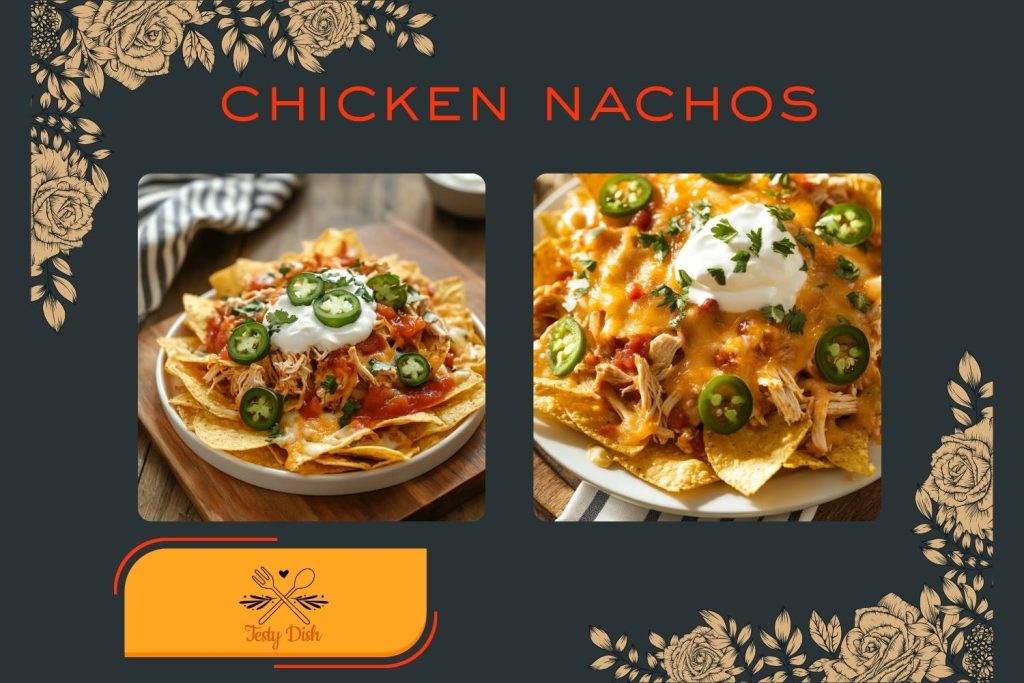
Today I’m sharing a recipe that’s become one of our absolute favorites: Chicken Nachos! These are crunchy, cheesy, and full of flavor. And guess what? They’re way healthier than they sound! I used to think nachos were just junk food, but if you use the right ingredients and keep it balanced these can totally be a part of your weekend comfort meal lineup.
Let’s dig in!
Method (In Detail)
Season the Chicken
First things first let’s get that chicken bursting with flavor! In a medium-sized mixing bowl, combine all the ingredients listed under Chicken Seasoning: lime juice, olive oil, crushed garlic cloves, garlic powder, onion powder, dried oregano, cumin, paprika, salt, pepper, and a little cayenne if you like it spicy. Then, take your chicken broth (just dissolve one cube in 1/2 cup of hot water) and stir it into the seasoning mix until it becomes a nice marinade. Now add your chicken pieces to the bowl and mix them in well, making sure each piece gets a generous coating of that zesty, spiced mixture. Let it sit for a few minutes while you prep the pan.
Cook the Chicken
Next, heat 1.5 tablespoons of olive oil in a frying pan over medium heat. Once the oil is warm, add the tomato paste and sugar. Stir these together to create a base that’s slightly sweet and rich. Then, gently add in your seasoned chicken and cook it for around 10–12 minutes, turning occasionally so it cooks evenly on all sides. You’ll notice the sauce starting to thicken a bit as it reduces, and the chicken will begin to brown and soak up all that flavor. Once it’s cooked through (you can check by slicing into a piece to make sure there’s no pink inside), it’s time for the next step.
Shred & Simmer
Now remove the chicken from the pan and place it on a cutting board. Using two forks, shred it into small pieces. This part is fun and it makes the nachos super easy to eat later on! Once shredded, return the chicken to the pan and pour in the remaining broth mixture if there’s any left. Stir everything together and let it simmer on low heat for another 3–5 minutes. This will allow the shredded chicken to soak up every last bit of the flavor and become sticky, juicy, and totally irresistible.
Layer the Nachos
Here comes the fun part! Grab a baking tray and start building your nacho masterpiece. Begin with a layer of tortilla chips spread out evenly. Then sprinkle a layer of grated cheese over the chips, followed by a nice amount of your seasoned, shredded chicken. Repeat this layering process one or two more times depending on how tall and cheesy you want your nachos. Make sure the top has a good amount of cheese so it melts beautifully in the oven.
Bake
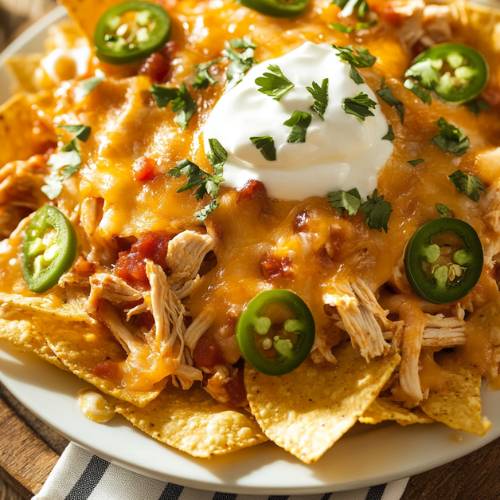
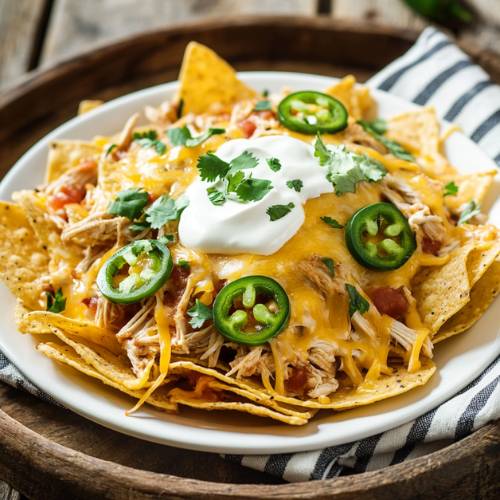
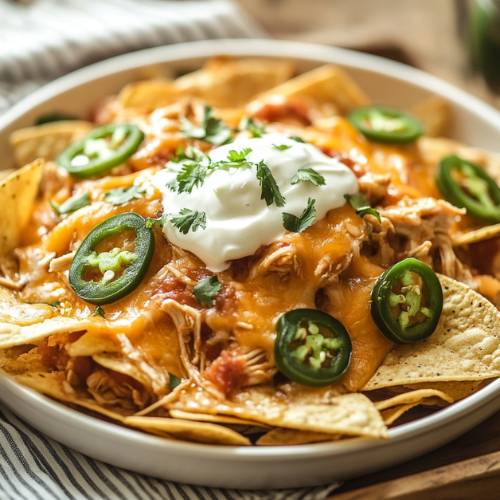
Preheat your oven to 180°C (or 350°F). Once it’s ready, slide your nacho tray into the oven and bake for 5–10 minutes. Keep an eye on it every oven is a little different, and cheese melts fast! You’ll know it’s ready when the cheese is bubbling and golden on top. The chips will be warm and slightly toasted, giving you that perfect crunch in every bite.
Top & Serve
Carefully remove the tray from the oven (it’ll be hot, so be cautious!) and let it sit for a couple of minutes. Then add spoonfuls of creamy guacamole and dollops of sour cream right on top or serve them on the side if you prefer to dip as you go. Now, gather around the table, dig in with your hands, and enjoy! Nachos are all about fun and flavor, and trust me, they taste even better when you eat them the messy way!
Necessary Tools
- Frying pan
- Mixing bowl
- Baking tray
- Oven
- Knife & chopping board
- Spoon for mixing
- Tongs or fork for shredding the chicken

Easy Chicken Nachos Recipe (Cheesy, Crunchy & Protein-Packed Comfort Food)
Cuisine: MexicanDifficulty: Easy2
servings15
minutes20
minutes35
minutesIngredients
For the Chicken:
1.5 tbsp olive oil
2 tbsp tomato paste
2 tsp sugar
1 chicken broth cube dissolved in 1/2 cup hot water
Chicken Seasoning:
3 tbsp lime juice
1 tbsp olive oil
2 garlic cloves (crushed or grated)
2 tsp each: garlic powder, onion powder, dried oregano
3 tsp each: cumin powder, paprika
1/2 tsp cayenne pepper (optional for heat)
1/2 tsp salt and pepper
For the Nachos:
Tortilla chips (about 2 handfuls per person)
Grated cheese (as cheesy as you like!)
Guacamole and sour cream to serve
Directions
- Season the Chicken: Mix all the chicken seasoning ingredients in a bowl with the broth. Add the chicken and coat it well.
- Cook the Chicken: Heat olive oil in a pan. Add tomato paste and sugar, stir, and then add the seasoned chicken. Cook until the chicken is done and easy to shred.
- Shred & Simmer: Shred the chicken using two forks, return it to the pan, and let it simmer until the sauce is sticky and full of flavor.
- Layer the Nachos: On a baking tray, layer tortilla chips, cheese, and chicken. Repeat to build layers like a nacho tower!
- Bake: Put the tray in a preheated oven at 180°C (350°F) for 5–10 minutes, or until the cheese is bubbly and melted.
- Top & Serve: Add guacamole and sour cream on the side or right on top if you’re feeling wild. Eat with your hands (it’s more fun that way!).
Notes
- Don’t add too much liquid when cooking the chicken it should be sticky, not soupy.
- Keep an eye on the cheese in the oven! It melts fast and can burn quickly.
- Don’t overload the nachos with toppings or the bottom chips will go soggy.
- Let the nachos cool a little before digging in you don’t want a cheese burn on your tongue!


Serving Suggestions
- Serve with a side of fresh salad or corn on the cob
- Add jalapeños for a spicy kick
- Try topping it with chopped tomatoes or green onions for a fresh crunch
- Make it a fun platter to share on movie night or game day
Fun Fact
Did you know nachos were invented in Mexico in the 1940s by a man named Ignacio “Nacho” Anaya? He made them from leftover ingredients for some hungry customers and they loved it so much, they named it after him!
Conclusion
These chicken nachos are comfort food done right easy, cozy, and full of flavor. I love that I can enjoy them without guilt, especially when I load up on the protein-packed chicken and keep the chip portions just right. It’s now one of our weekend go-tos, and I hope it becomes one of yours too!Give it a try and let me know how you topped your nachos. And yes eat them with your hands. It really does taste better that way!