

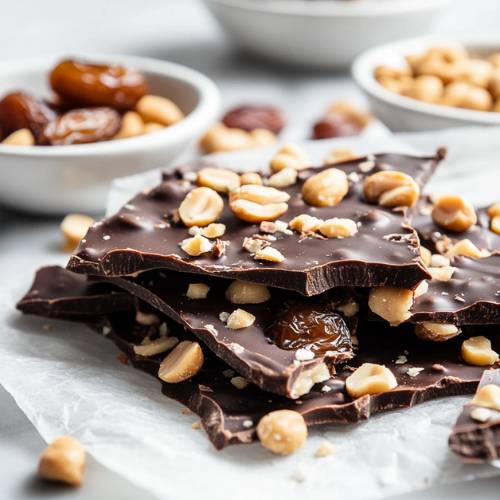
If you haven’t heard about the viral date bark trend, let me be the first to say you are going to LOVE it! It’s super simple, needs no baking, and uses just three of the world’s best ingredients: soft dates, creamy peanut butter, and rich dark chocolate. Oh, and a little sprinkle of salt makes it extra special. 😋
Let’s get started on this sweet, chewy, salty, and crunchy treat!
🧑🍳 Method (Step-by-Step in Detail)
Preparing the Tray
First, get your tray or small dish ready by lining it with parchment paper. This is an important step because it prevents the date bark from sticking to the tray later on. A small tray works best here; it helps give the bark a nice thickness and keeps the shape tidy.
Layering the Dates
Take your pitted Medjool dates and start placing them side by side in the tray, forming your first row. Try to press them gently together as you go. Once that first row is in place, begin creating the second row, but here’s the trick slightly overlap the second row over the first. This overlapping technique helps the dates merge together better when you flatten them, which means fewer gaps and a smoother base for your toppings.
Flattening the Base
Now it’s time for the fun part flattening the dates! Grab a glass with a flat bottom and gently press down across the entire surface of the dates. Don’t rush this step firm but even pressure will help shape the base into one solid piece that fills the tray nicely. It’s not only satisfying to do, but it also ensures the layers on top go on smoothly.
Spreading the Peanut Butter
Next up is the creamy middle layer. Using a spoon or spatula, spread the peanut butter evenly across the entire surface of the flattened date layer. Be sure to use a smooth, spreadable peanut butter not one that’s too oily or runny so that it sticks well and doesn’t slide off. A thicker layer will give that rich, nutty taste in every bite.
Melting and Pouring the Chocolate
Now melt your chocolate. You can do this by microwaving it in short 20-second bursts, stirring in between, or by gently heating it on the stovetop using a double boiler method. Once melted and silky, pour the chocolate over the peanut butter layer and use the back of your spoon or a spatula to spread it out evenly. Make sure to cover all the edges so each bar gets a good amount of chocolate.
Adding a Sweet-Salty Crunch (Optional)
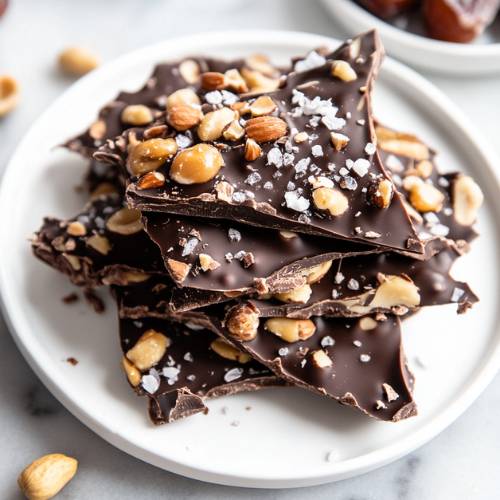
Before the chocolate sets, sprinkle a small pinch of salt or some chopped salted peanuts over the top. This sweet and salty combo adds an extra layer of flavor and a little crunch that makes the bark even more delicious. If you’re a fan of sweet-savory snacks, don’t skip this step!
Chilling and Slicing
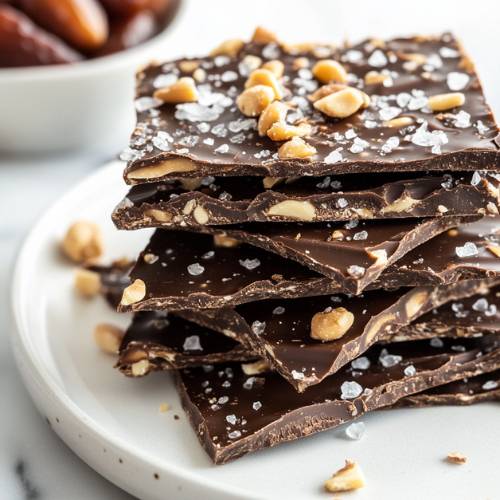
Finally, place the tray in the fridge and let it chill for about 20 to 30 minutes or until the chocolate has completely hardened. Once it’s firm, lift the bark out of the tray using the parchment paper edges and place it on a cutting board. Use a sharp knife to slice it into 8 to 10 bars. You can make them small bite-sized pieces or larger bars, depending on your preference.
🧰 Necessary Tools
- Small tray or dish
- Parchment paper
- A glass with a flat bottom (for squishing!)
- Spoon or spatula
- Microwave-safe bowl (or use stovetop to melt chocolate)
- Knife (for slicing into bars)
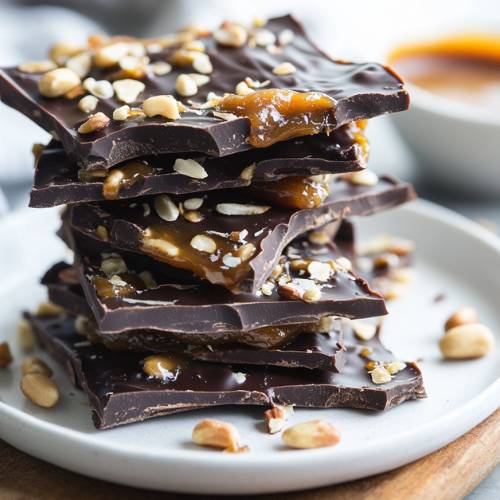
🍫 Date Bark Recipe; Easy, Yummy & Totally Addictive!
Cuisine: AmericanDifficulty: Easy10
servings10
minutes10
minutesIngredients
15 Medjool dates, pitted
90g peanut butter (I used @myprotein)
100g dark chocolate (anywhere from 50% to 80%)
Optional: pinch of salt or 15g salted peanuts, chopped
Directions
- Line your tray with parchment paper so nothing sticks.
- Place the dates side by side on the tray to make the first row.
- Now for the trick: slightly overlap the second row of dates on top of the first. This helps everything stick together nicely later on.
- Grab the bottom of a clean glass and press down on the dates to flatten them into the shape of your tray. This step is oddly satisfying!
- Spread your peanut butter evenly over the top of the squished dates.
- Melt the chocolate until smooth and pour it over the peanut butter layer.
- If you like, sprinkle salted peanuts or a pinch of salt on top for that awesome sweet-salty combo.
- Pop the tray in the fridge for about 20–30 minutes until the chocolate is set.
- Slice into 8–10 bars and enjoy!
Notes
- Don’t skip overlapping the dates it’s important to keep the base strong.
- A small tray works best. If it’s too big, the bars won’t be thick enough.
- When squishing with the glass, press gently but firmly. You want a flat surface, not broken dates.
- Make sure your peanut butter isn’t too runny or the layers won’t stick as well.
- Let the chocolate fully harden before slicing otherwise, it’ll get messy.

🍽️ Serving Suggestions
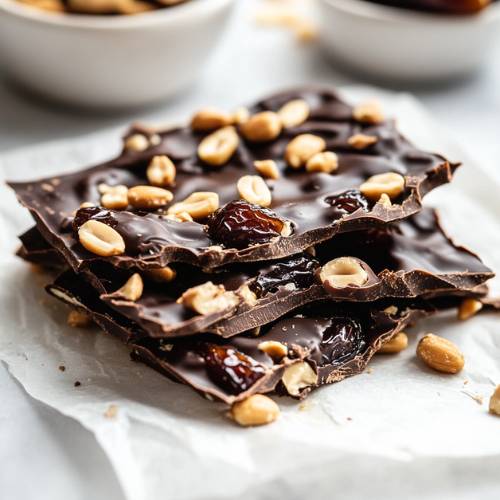
- Serve chilled right out of the fridge for a firm bite.
- You can freeze them too they make a great frozen treat!
- Try pairing a bar with your afternoon coffee or tea.
- Add to lunchboxes for a fun, healthy-ish dessert.
🎉 Fun Fact
Did you know that dates have been around for over 6,000 years? They were a favorite treat in ancient Egypt and still are in many parts of the world. Sweet and sticky, they’re nature’s candy!
✅ Conclusion
This Date Bark Recipe is seriously the easiest treat ever. No oven, no fancy tools, and no stress. Whether you’re making a snack for yourself, your kids, or some guests, everyone will be asking for more. Plus, it’s a great way to enjoy something sweet with real, wholesome ingredients.
Give it a try I promise, one bite and you’ll see why it went viral!

