
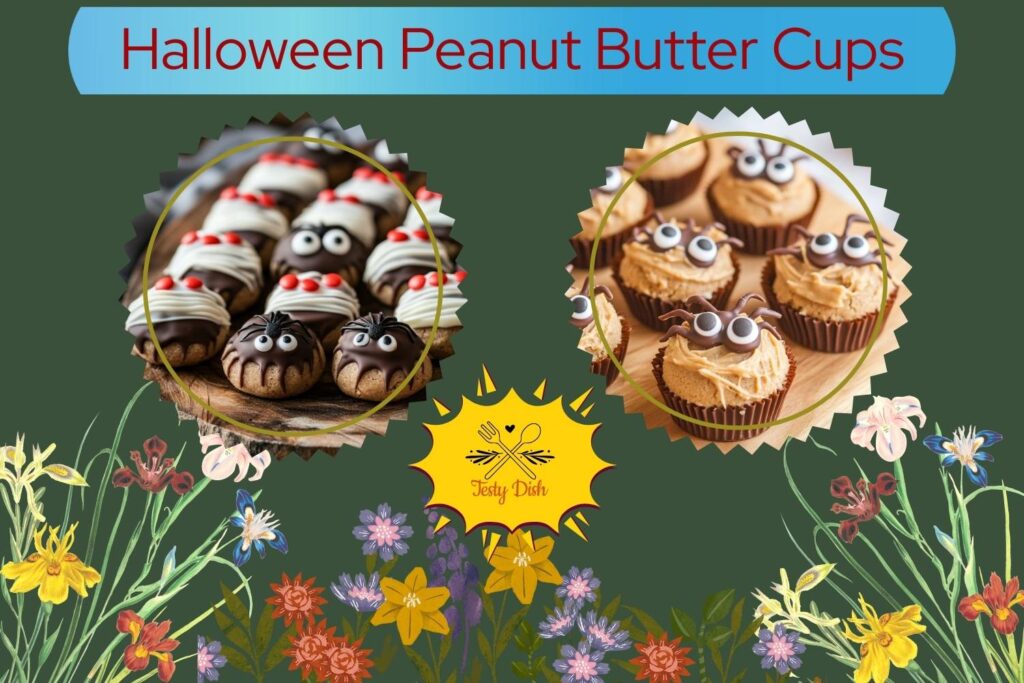
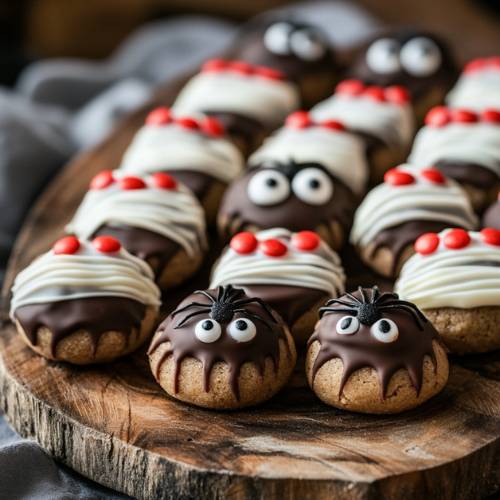
Hi friends! If you’re looking for a cute, spooky treat that’s also super easy, you’ll love these Halloween Peanut Butter Cups. I made them with just four simple ingredients, and they turned out adorable! They’re perfect for a Halloween party or just a cozy night in with a scary movie. And don’t worry you don’t need to be a fancy chef to make these. If you’ve got a fun mold and a little time, you’re good to go!
Method
Melt the Chocolate
Start by chopping 100g of dark chocolate into small pieces and placing them in a microwave-safe bowl. This helps the chocolate melt evenly without burning. Microwave the chocolate for about 45 seconds, then take it out and stir well. Place it back in the microwave for another 15–30 seconds if needed, stirring again until it’s completely smooth and glossy. Be careful not to overheat it, as chocolate can burn quickly and become grainy.
Make the Bottom Layer
Once the chocolate is fully melted, carefully spoon about two-thirds of it into your Halloween silicone molds. You can use the back of a spoon or a small spatula to spread the chocolate so it coats the bottom and sides of each mold shape. This layer will form the base of your peanut butter cups. Once filled, place the mold in the freezer for about 2 to 5 minutes just long enough for the chocolate to firm up. It doesn’t need to be rock solid, just set enough to hold the filling.
Mix the Filling
While the chocolate is chilling, it’s time to make the yummy peanut butter filling. In a small bowl, combine 60g of creamy peanut butter with 1 teaspoon of powdered peanut butter and 1 tablespoon of maple syrup. If you like a bit of contrast, you can also add a tiny pinch of salt. Mix everything together using a spoon or small spatula until it forms a compact dough. The mixture should be thick and easy to handle not runny.
Add the Filling
Remove the molds from the freezer. Take about ½ teaspoon of the peanut butter dough and press it gently into each chocolate-lined mold. Use your fingers to make sure it fits into the shape evenly and fills most of the center without going over the top. Press lightly but firmly so the filling sits nicely inside the base layer of chocolate.
Top with More Chocolate
Now, pour the remaining melted chocolate over the peanut butter filling in each mold. Use a spoon to smooth the tops if needed, making sure the filling is completely covered. This step seals the peanut butter inside and creates a smooth, shiny top layer. Once all the molds are filled, place them back into the freezer for another 5 minutes or until the chocolate is fully set and firm.
Enjoy!
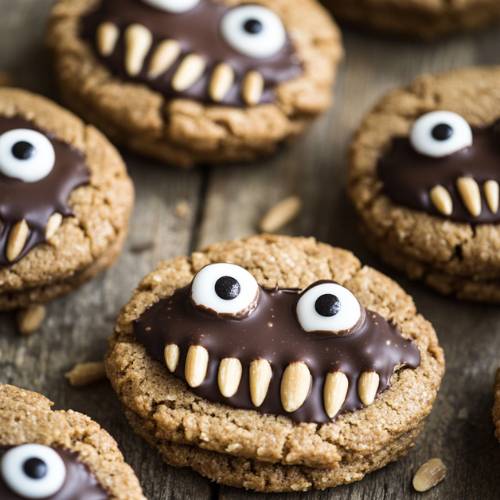
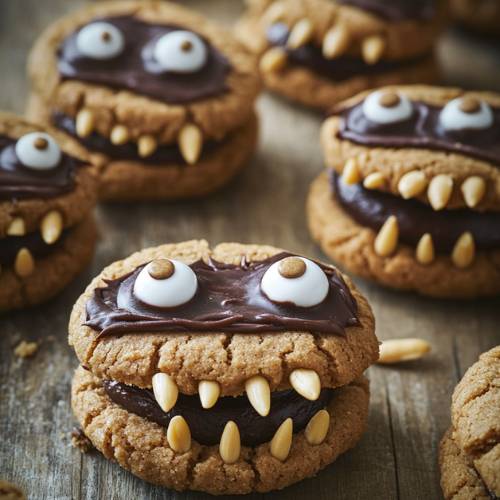
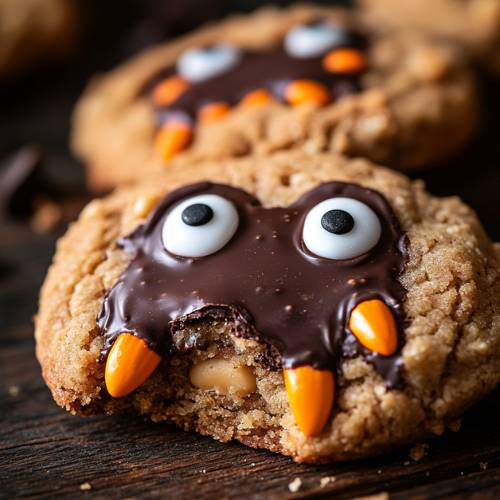
Once everything is chilled and firm, gently pop the peanut butter cups out of the silicone molds. You’ll be left with adorable Halloween-shaped treats that look just as good as they taste perfect for spooky season snacking!
Necessary Tools
- Halloween silicone molds (pumpkins, ghosts, or any shape you like)
- Microwave-safe bowl
- Spoon or small spatula
- Freezer
- Small mixing bowl
🎃 Halloween Peanut Butter Cups Recipe, So Fun and So Tasty!
Cuisine: AmericanDifficulty: Easy8
servings10
minutes1
minute11
minutesIngredients
100g dark chocolate (chopped)
60g peanut butter (creamy works best)
1 tsp powdered peanut butter
1 tbsp maple syrup
Optional: pinch of salt for extra flavor
Directions
- Melt the Chocolate Chop your dark chocolate and place it in a microwave-safe bowl. Heat it for 45 seconds to 1 minute, stirring halfway through, until smooth and melty.
- Make the Bottom Layer Pour about two-thirds of the melted chocolate into your Halloween molds. Use the back of a spoon to spread it around if needed. Place the mold in the freezer for 2–5 minutes until it firms up.
- Mix the Filling In a small bowl, mix the peanut butter, powdered peanut butter, and maple syrup. Add a pinch of salt if you like a little extra flavor. Mix everything until it forms a thick dough-like texture.
- Add the Filling Take the mold out of the freezer. Add about ½ teaspoon of the peanut butter dough into each shape. Use your fingers to press it gently so it fills the mold well.
- Top with More Chocolate Pour the rest of the melted chocolate on top of the peanut butter dough. Smooth the tops if needed. Pop the mold back into the freezer for about 5 minutes until everything is set.
- Enjoy! Once your Halloween cups are fully firm, pop them out of the mold and enjoy the cutest, yummiest treats ever!
Notes
- Don’t overheat the chocolate or it might burn check and stir halfway.
- Make sure your peanut butter dough is firm so it stays in place.
- Don’t fill the mold too full at the start you need room for the top chocolate layer!
Serving Suggestions
- Serve on a fun Halloween tray with candy corn and pretzels.
- Pack in little treat bags for friends or classmates.
- Add them to a spooky dessert board with cookies and fruit!
Fun Fact
Did you know? Reese’s Peanut Butter Cups were first made in 1928! This homemade version is a fun twist with better ingredients and spooky shapes perfect for Halloween!
Conclusion
These Halloween Peanut Butter Cups are spooky, sweet, and super fun to make. You don’t need anything fancy just a few simple ingredients and some creativity! They look great, taste even better, and are sure to make your Halloween extra special. 🎃

