

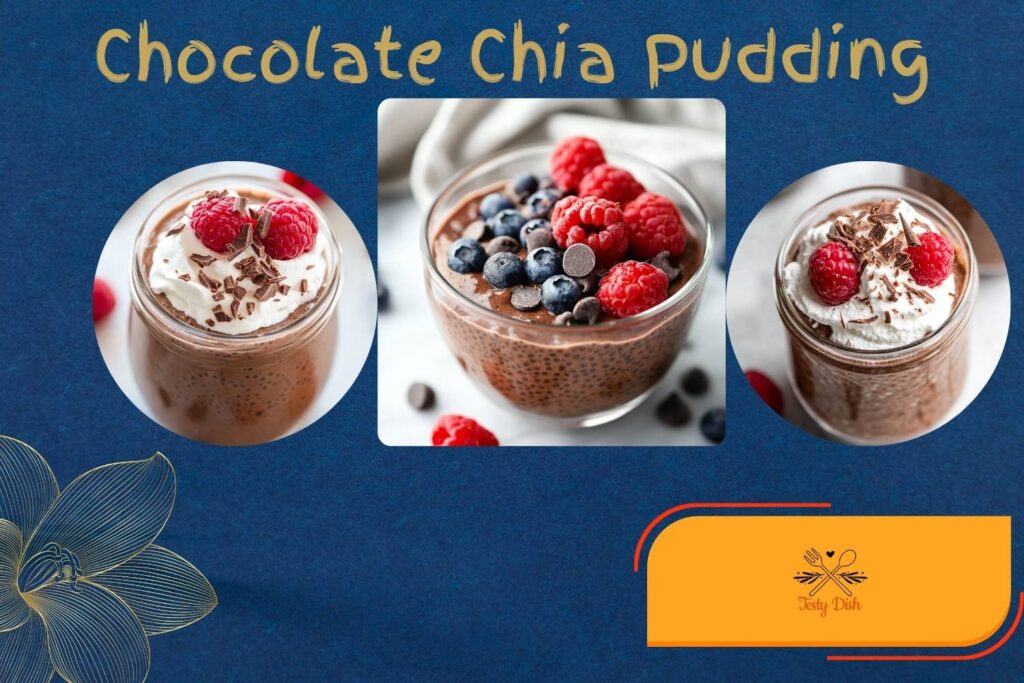
Hey there, chocolate lovers!
If you’ve never been a big fan of chia seeds, I totally get it. I used to feel the same way. But then I learned how crazy healthy they are and more importantly, how yummy they can taste with the right mix. This chocolate chia pudding is quick, easy, and super good for you. It’s like dessert and a healthy snack all in one!
Method (In Detail)
Mixing the Ingredients
Start by grabbing a small bowl or a jar with a lid this will be your mixing and storing container. Add 40 grams of chia seeds, 20 grams of cacao powder, 200ml of your preferred milk (like almond, oat, or regular dairy milk), and 10 grams of maple syrup. If you’re using a jar, make sure it’s large enough for everything to mix well and for the seeds to expand as they soak.
Stirring Thoroughly
Now comes an important step: mix everything really well. Use a spoon to stir until the cacao powder is fully blended into the milk. Cacao tends to clump, so take your time here. You want the mixture to look smooth and evenly chocolatey. Don’t worry if it seems a bit thin right now chia seeds need time to do their magic!
Letting It Rest (Optional Stir)
Once you’ve mixed it all together, let the mixture sit for about 10 minutes. Then, give it another good stir. This quick extra mix helps prevent the chia seeds from settling at the bottom and forming lumps. After that, cover your bowl or seal your jar with a lid.
Chilling Time
Place your pudding in the fridge and let it chill. It needs to soak for at least 1 hour to reach that thick, pudding-like texture. But for the creamiest and richest result, I highly recommend leaving it overnight. This gives the chia seeds enough time to absorb the liquid fully and become soft and jelly-like.
Final Stir and Serving
Before eating, take it out of the fridge and give it one final stir. This helps smooth out any remaining clumps and ensures an even texture throughout. Then, the fun part toppings! Add your favorite extras like Greek yogurt, raspberries, crushed nuts, or a sprinkle of granola to make it even more delicious and satisfying.
Necessary Tools
- A small bowl or jar with a lid
- A spoon for mixing
- Measuring spoons or a kitchen scale
- A refrigerator to chill the pudding

Chocolate Chia Pudding Recipe (Easy 2-Minute Healthy Dessert)
Cuisine: MexicanDifficulty: Easy1
servings2
minutes1
hourIngredients
40g chia seeds
20g cacao powder
200ml milk (any kind you like almond, oat, cow’s milk, etc.)
10g maple syrup (or honey if you prefer!)
Directions
- Add the chia seeds, cacao powder, milk, and maple syrup into your bowl or jar.
- Mix everything really well so the cacao doesn’t stay lumpy. You want it smooth and chocolatey!
- Cover the bowl or close the jar with a lid.
- Put it in the fridge and let it sit for at least 1 hour. But if you can wait overnight, it’ll taste even better and be extra creamy.
- Before eating, give it one more stir and add your toppings!
Notes
- Make sure you mix everything really well. If the cacao powder doesn’t blend in fully, it can make your pudding taste bitter in spots.
- Stir again after about 10 minutes of soaking to avoid clumping.
- Don’t forget to chill it long enough chia needs time to soak and become pudding-like!
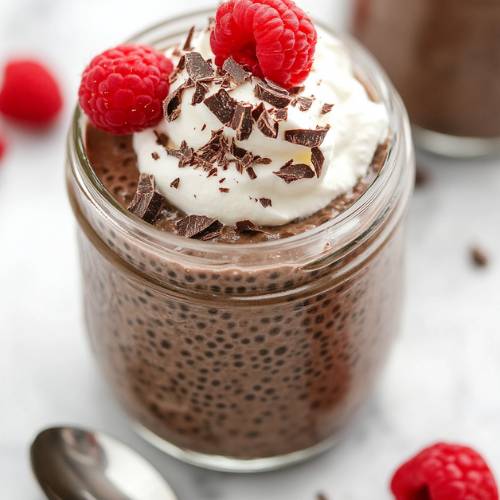
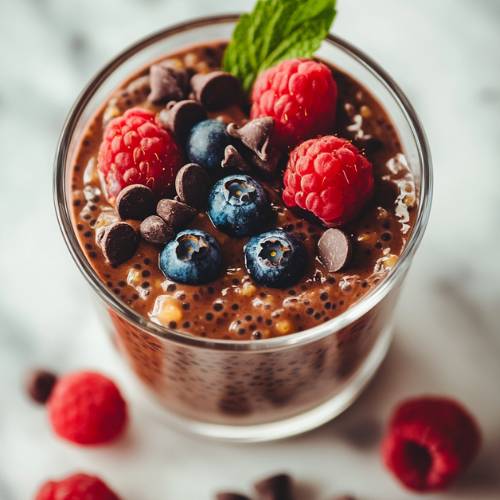

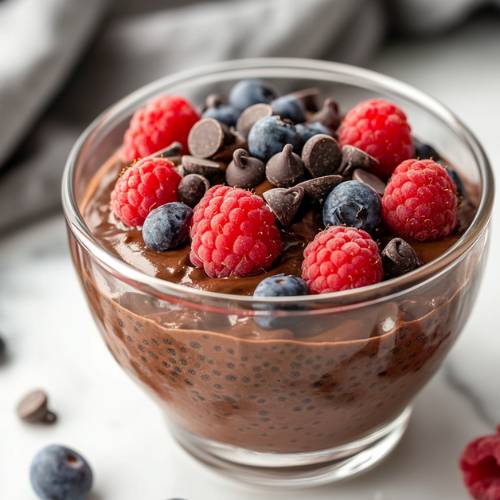
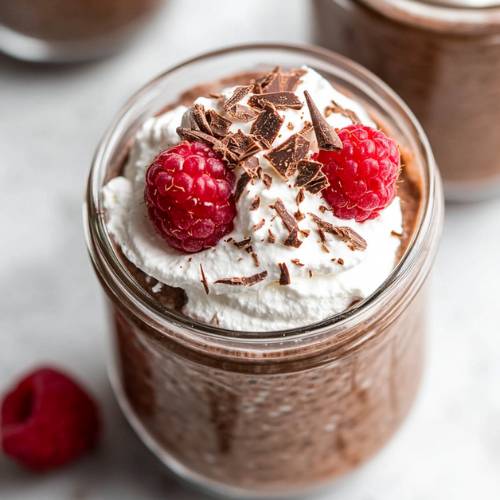
Serving Suggestions
You can enjoy your chocolate chia pudding in so many fun ways! Here are a few of my favorites:
- A scoop of Greek yogurt on top
- Fresh raspberries or strawberries
- Crushed nuts like almonds or hazelnuts
- A sprinkle of granola for a crunch
- Coconut flakes for tropical vibes
It’s also great for breakfast, a snack, or even dessert!
Fun Fact
Did you know chia seeds were once used by Aztec warriors for energy? These tiny seeds are packed with fiber, protein, and omega-3 fats small but mighty!
Conclusion
This chocolate chia pudding is one of my go-to recipes when I want something fast, tasty, and healthy. It takes just 2 minutes to prep, and then your fridge does the rest. Plus, you can make a few jars at once and enjoy them all week! Whether you’re a meal-prepper or a last-minute snacker, this one’s for you.

