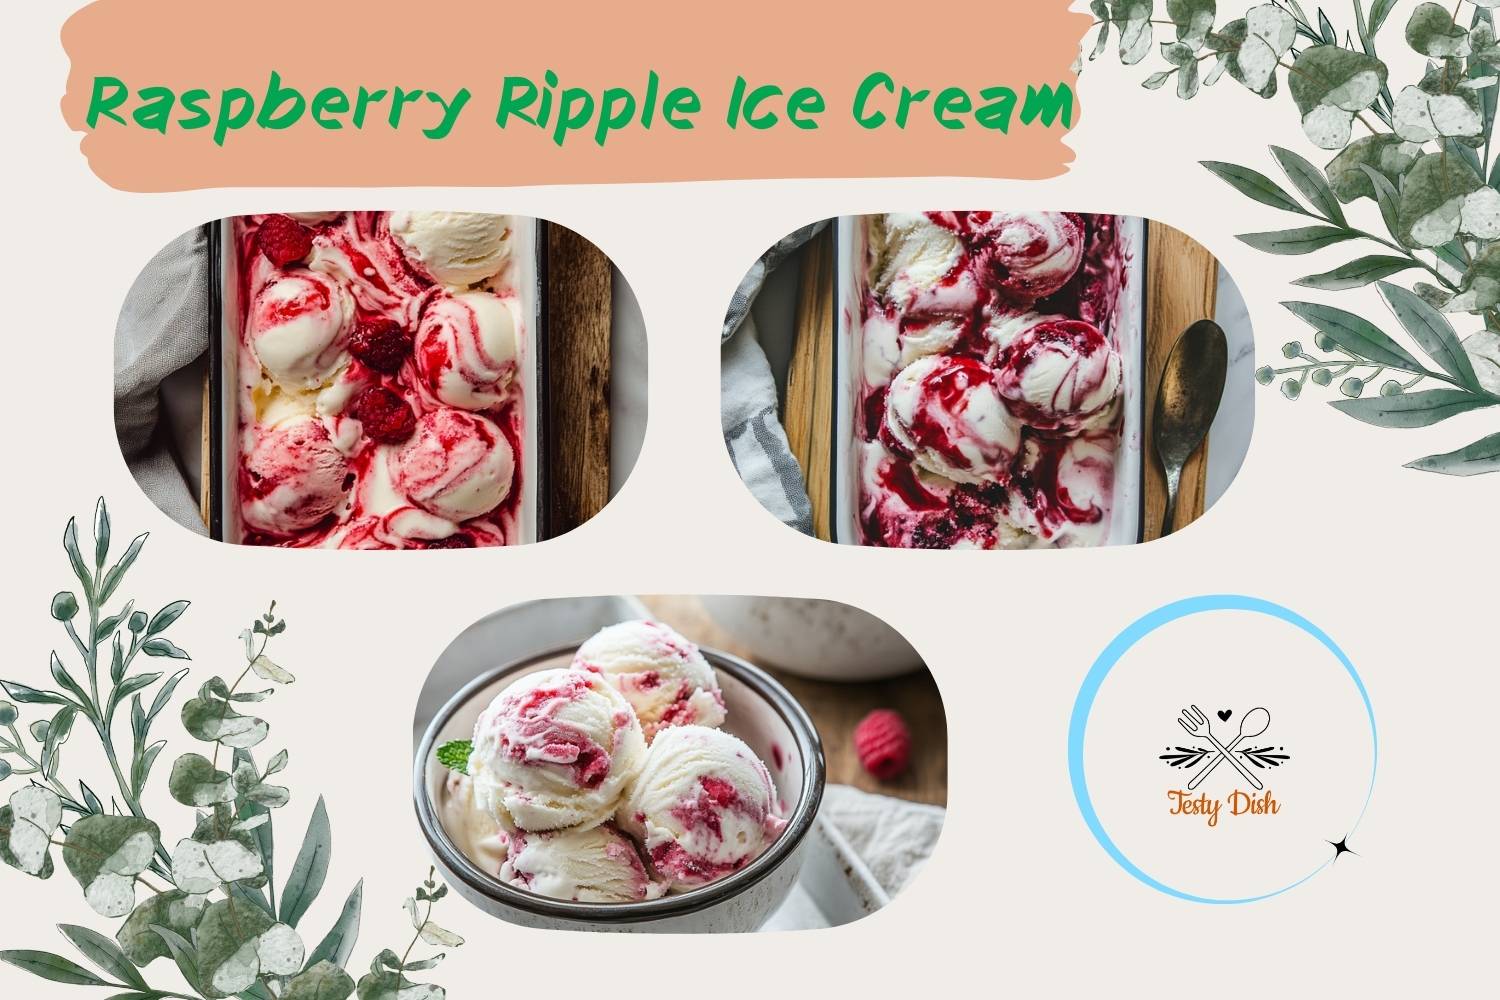
Looking for a dreamy, creamy dessert that’s just as pretty as it is tasty? You have to try my no-churn Raspberry Ripple Ice Cream! It’s got the sweet-tart magic of raspberries, a gentle floral kiss from rose water, and a secret flavor twist lychee! This ice cream is smooth, swirly, and doesn’t even need an ice cream machine. Just whip, swirl, and freeze! It’s Barbie-core, it’s refreshing, and it’s perfect for sunny days or pink-themed parties.
Method
Make the Ripple:
Let’s start with the fruity swirl that gives this ice cream its name. Take 250g of fresh raspberries and press them through a fine sieve using the back of a spoon. This step might take a bit of time, but it’s totally worth it. You want to remove all the tiny seeds so you’re left with a smooth, rich raspberry puree. Once that’s done, stir in 1 tablespoon of rose water. This combo brings out a beautiful floral-fruity scent that already smells like dessert! Set the mixture aside while we move on to the creamy base.
Whip It Up:
In a large mixing bowl, pour in the 250ml of double cream. Using a hand whisk or an electric mixer, whisk it for around 5 minutes until it thickens and becomes fluffy with soft peaks. Don’t rush this part it’s what makes the ice cream light and airy. Once whipped, gently stir in the entire 397g can of sweetened condensed milk, followed by 4 heaped tablespoons of 0% Greek yogurt. The condensed milk adds sweetness, while the yogurt gives it a subtle tang and helps balance the richness.
Swirl Time:
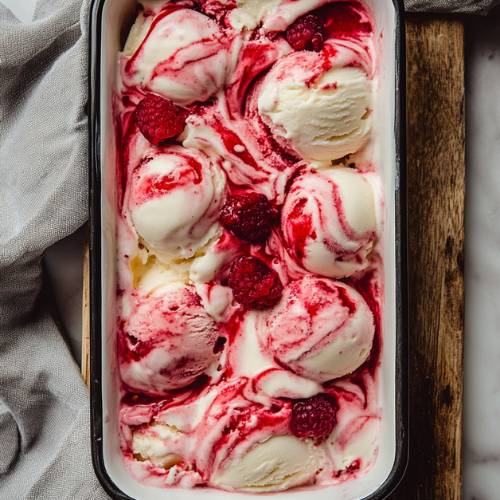
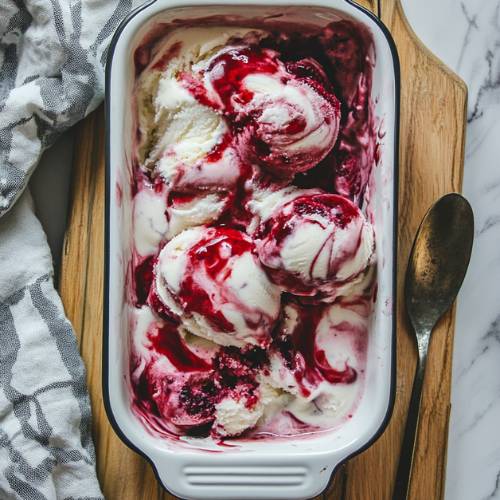
Now it’s time to combine everything! Pour your creamy base into a loaf tin or any freezer-safe container. Then take the raspberry-rose ripple we made earlier and spoon it over the top. Using a butter knife, chopstick, or skewer, gently swirl the ripple into the base. Be careful not to mix too much we’re going for streaks and swirls, not a full blend. The goal is to create a pretty pattern that shows off those pink ribbons once it’s frozen.
Freeze:
Cover the loaf tin with a lid or plastic wrap and pop it into the freezer. Leave it there for at least 4 hours, though overnight is even better if you can wait. The ice cream will firm up beautifully, and those ripples will stay right where you swirled them.
Make the Sauce:
Right before serving, let’s make that magical topping. Peel and pit 8 lychees and place the flesh into a mini chopper or small blender. Add 150g of raspberries to the blender, then blitz everything until it becomes smooth. Just like before, press the mixture through a sieve to remove any seeds or pulp. Stir in 1 teaspoon of rose water for that extra floral note. You’ll be left with a vibrant sauce that’s sweet, tangy, and just the right amount of fancy. Pour it into a small jug so it’s ready to serve.
Serve and Drizzle:
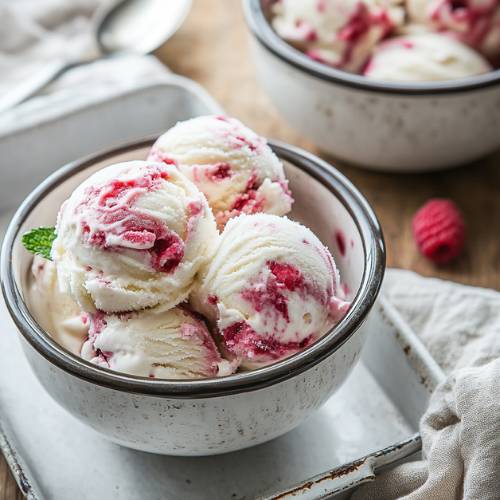
When you’re ready to enjoy your ice cream, remove it from the freezer and let it sit for 5–10 minutes at room temperature. This makes it easier to scoop and helps bring out the flavors. Scoop out a generous serving, then drizzle that rosy lychee sauce all over the top. The contrast of creamy and fruity is chef’s kiss it’s bright, floral, and totally swoon-worthy.
Necessary Tools
- Mixing bowl
- Electric whisk or hand whisk
- Sieve
- Spoon (for pressing raspberries)
- Loaf tin or freezer-safe container
- Mini blender or chopper
- Jug or small bowl (for sauce)

Raspberry Ripple Ice Cream Recipe (No-Churn, Creamy & Easy Homemade Dessert)
Cuisine: BritishDifficulty: Easy6
servings20
minutes00
minutes4
hoursIngredients
For the Ice Cream:
250g raspberries
1 tbsp rose water
250ml double cream
397g sweetened condensed milk (1 can)
4 heaped tbsp 0% Greek yogurt
For the Raspberry, Rose & Lychee Sauce:
150g raspberries
8 lychees (peeled and pitted)
1 tsp rose water
Directions
- Make the Ripple: Start by pressing 250g of raspberries through a sieve with the back of a spoon. Toss out the seeds and stir 1 tbsp rose water into the smooth puree. Set aside this will be our gorgeous ripple!
- Whip It Up: In a large bowl, whisk the double cream for about 5 minutes until it’s thick and fluffy. Gently mix in the condensed milk and Greek yogurt until it’s smooth and creamy.
- Swirl Time: Pour the creamy mixture into your loaf tin. Then spoon the raspberry-rose mix on top and lightly swirl it around with a knife or skewer to make that ripple effect.
- Freeze: Cover and freeze for at least 4 hours (or overnight if you can wait that long!).
- Make the Sauce: Right before serving, blend the lychee flesh and 150g raspberries in a mini chopper. Sieve the mixture just like before and mix in 1 tsp of rose water. Pour it into a little jug it’s your fancy sauce!
- Serve and Drizzle: Let the ice cream sit for 5–10 minutes at room temperature to soften. Scoop it out, drizzle your rosy lychee sauce on top, and enjoy every bite.
Notes
- Don’t skip straining the raspberries it makes the texture silky smooth.
- Whip the cream just enough. Over-whipping can make it too stiff.
- Swirl gently! Over-mixing the ripple will blend it too much. We want those pink streaks to show.
- Let the ice cream thaw for a few minutes before scooping no one likes broken spoons!


Serving Suggestions
- Add fresh raspberries and rose petals for a glam touch.
- Serve in a waffle cone or pretty dessert bowl.
- Top with mini white chocolate chips or pistachio bits for a crunch!
Fun Fact
Did you know? Raspberry Ripple has been around since the 1920s and became super popular in the UK. “Ripple” just means the fruity swirl pattern in ice cream!
Conclusion
This Raspberry Ripple Ice Cream is a total treat: no churning, no fuss, and it’s bursting with raspberry and floral flavors. The rose and lychee sauce takes it to a fancy level without being hard to make. It’s perfect for birthdays, Barbie-themed nights, or just because you feel like a little extra sweetness. Try it once, and you’ll be dreaming in pink swirls forever!